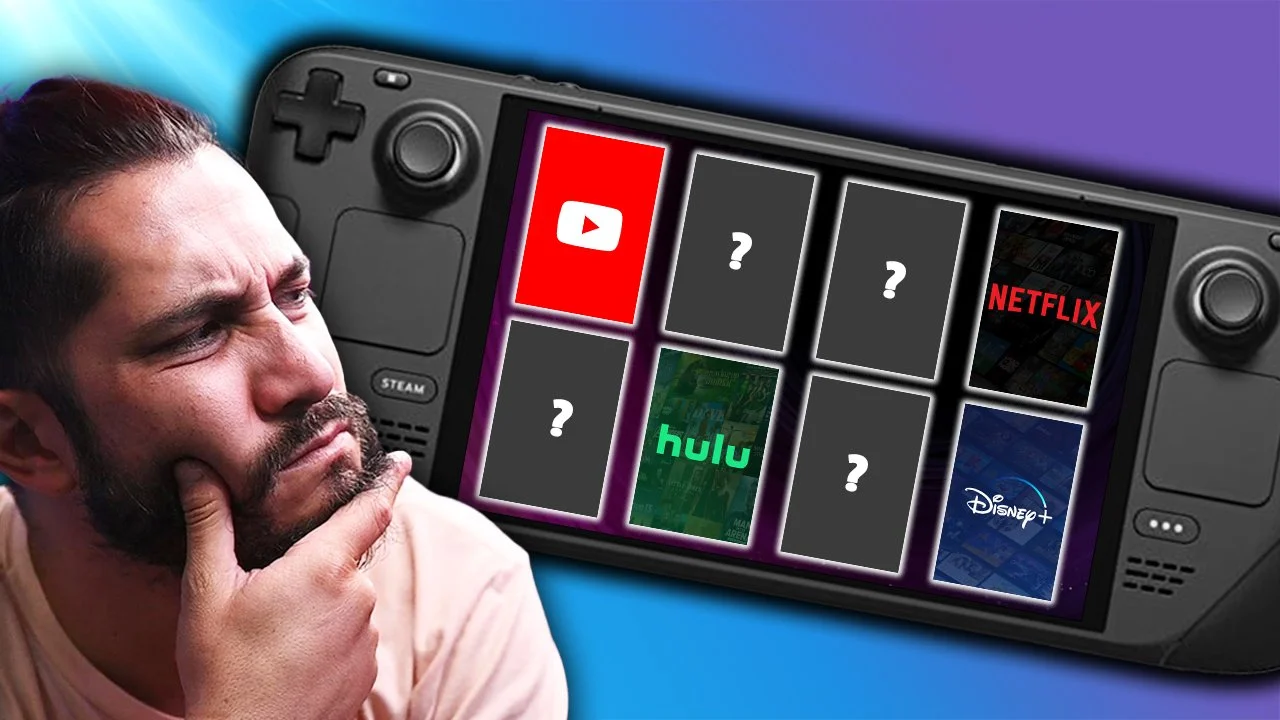
How-to Add Missing Artwork to Your Steam Deck
I saw all of your comments, and I needed to apologize for not spending more time on the "Adding Artwork" portion of my Netflix video for the Steam Deck.
This tutorial is broken up into two parts:
Part 1 - Adding Artwork from the Dropbox Folder
Part 2 - Adding Custom Artwork from Scratch
**REMINDER**
I highly recommend you connect a mouse and keyboard to your Steam Deck to make this process much quicker!
EVERYTHING IS DONE IN DESKTOP MODE.
Part 1: Adding Artwork from the Dropbox Folder
Step #1 - Download the Dropbox folder
Here is the link to my Dropbox folder: https://www.dropbox.com/sh/r49pvbvq00488bz/AACQJAx_z7-1G_tk9J5FdXS5a?dl=0
You'll find the Artwork for: Amazon Prime, Apple TV, Crunchy Roll, Disney +, Netflix, Spotify, Twitch, YouTube
Once downloaded, I recommend you move the folders to somewhere else on your Steam Deck, such as the Pictures folder, or Documents.
Step #2 - Open the Steam Client
From here on out, everything will be done within the Desktop Mode.
Locate the first game/app you want to add artwork to.
There is an organized flow on how I like to add my artwork, it goes like this:
Icon - Start on the left side menu where the game/app is located.
Right-click > Properties > Click the empty square next to the shortcut name, then go to the location of the icon art you want. **If you don't see the Icon file, it's most likely saved as an .ico file and you'll need to select File type > All files in order to see it.
Once selected, press enter and you should see the icon image in the square
Hero & Logo - Click on the Game/App to open up their Steam page in your Library.
Right-click anywhere in the empty space on the banner and select "Set-Background Artwork". Location the 'Hero' artwork and select it, press enter and it should appear on the banner.
Right-click on the banner again and select "Set Logo Artwork". Locate your 'Logo" artwork, select it and press enter. You should see your logo artwork pop-up on the left portion of the banner.
Poster - Select the Library option on top, click 'home'.
Scroll down to find your game/app.
Right-click on the game/app > manage > set custom artwork.
Locate your 'poster' artwork for your game/app, select it and press enter.
Grid - In order for your 'grid' artwork to appear, you must START your application.
Start your application, and then click out. You only need to initiate the game/app.
Head to the top of your Library Home Page and you should seed a blank 'grid' artwork for you game/app.
Right-click > manage > set customer artwork.
Locate your 'grid' artwork, select it, and press enter.
In total, there should be five pieces of artwork that you need to change. **IF YOU DON'T SEE THE ARTWORK IN YOUR DOLPHIN EXPLORER WINDOW, YOU NEED TO SELECT THE FILE TYPE DROP DOWN MENU AND SELECT "ALL FILES"**
Part 2: Adding Custom Artwork from Scratch
The main website I use to gather artwork from my applications/games comes from:
Step #1 - Search for your game/app on Steamgriddb.com
There is an order and flow to downloading your Artwork from SteamgridDb.com. Make sure you have the following artworks:
Poster - In Grids section (Vertical Image)
Grid - In Grids section (Horizontal Image)
Hero - Background or Banner Image
Logo - This overlays the background
Icon - This image is seen in the left-hand steam menu
Make sure you save all your artwork in organized files, labeled correctly with the corresponding type of art, otherwise you'll get confused and disorganized.
Step #2 - Open the Steam Client
You can repeat the steps in Part 1 (Step #2) about adding the artwork through the Steam Client.
If you have any further troubleshooting needs, please consider joining The Light Den Academy Discord community and you can send me a message!
Thanks for checking out my tutorial!

